Thursday, April 4, 2019

Time for a ball screw printer

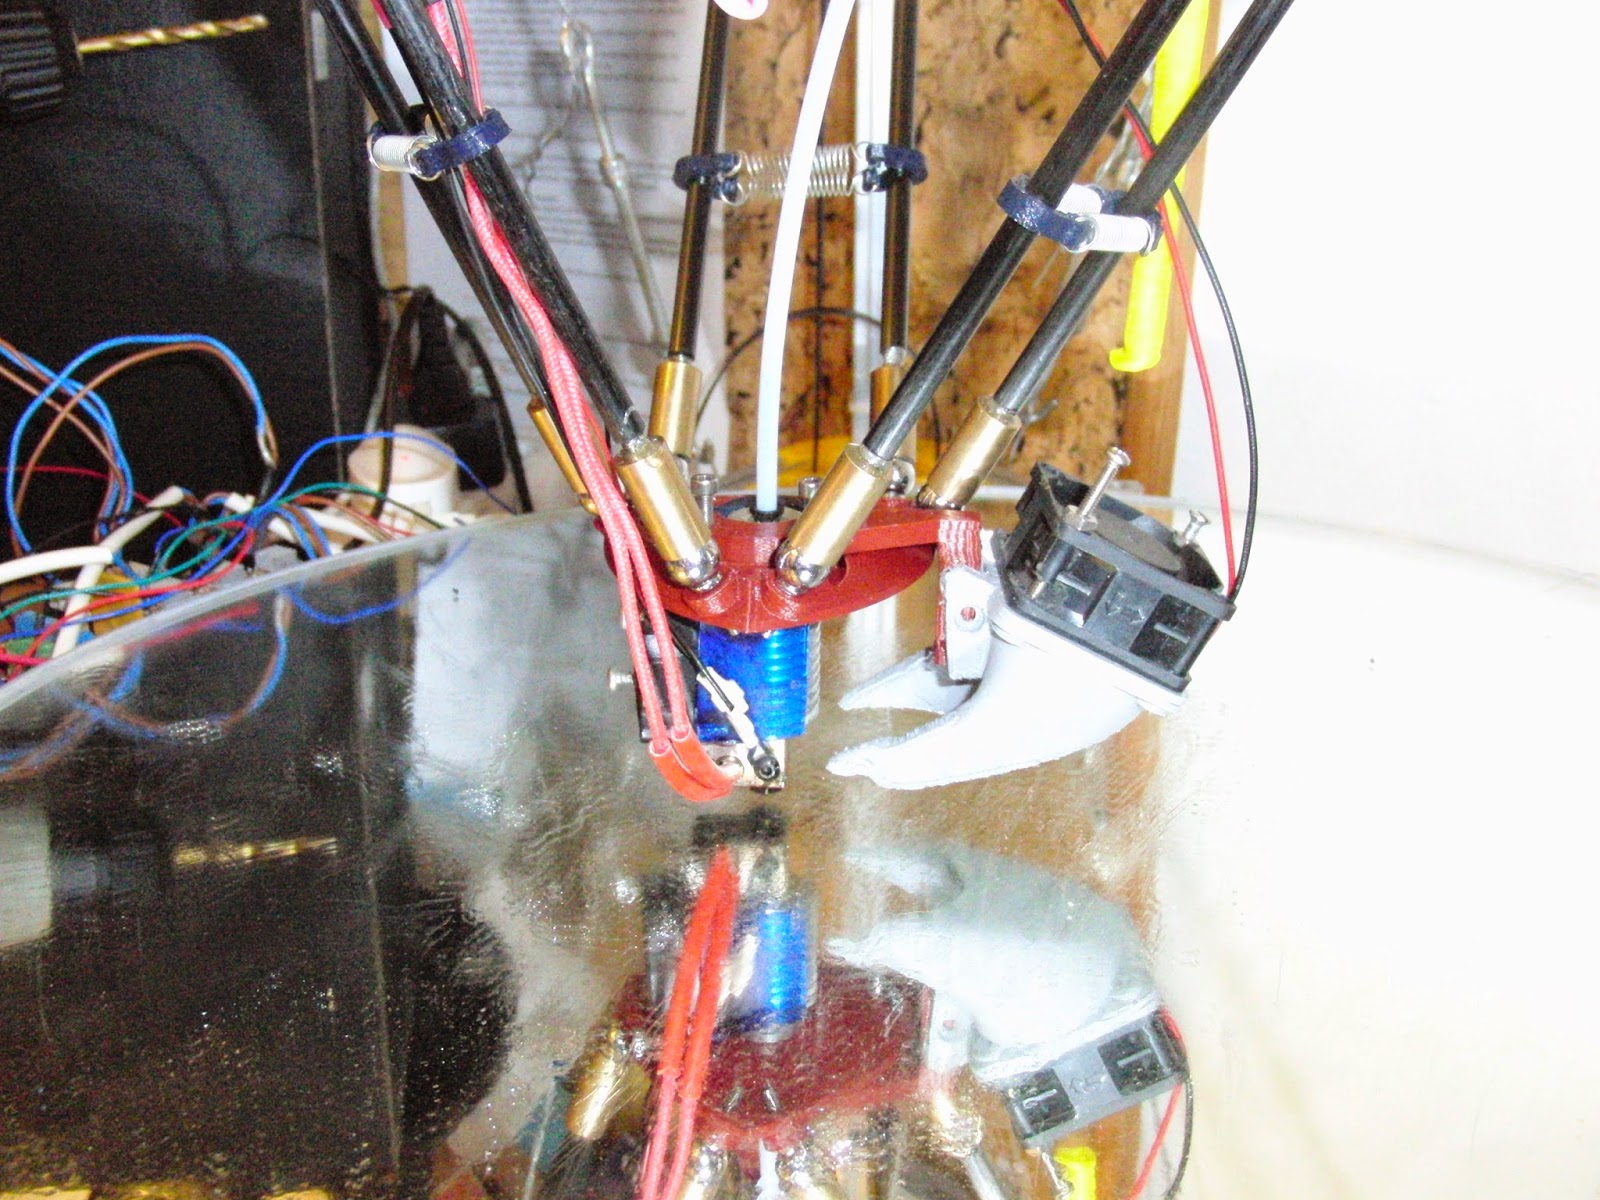
While thinking about how to upgrade my Delta printer, I was considering the viability of using ball screws instead of pulleys and belts. However since the movement of the carriages is sometimes 4 times greater that the actual speed of the print head, this seems like a bad idea.

That lead me down onto a path of comparing the existing printer designs.
  • Cartesian: The classic, but moving the bed just creates unnecessary acceleration artifacts.
  • Delta: Looks good, but the aforementioned speed issue, salmon skin/moire and the extra z height cause some issues
  • CoreXY: The underdog, seemingly combines the best from the previous designs, however the long belt path wont be good in combating acceleration artifacts.
  • Cross-Axis/Ultimaker: That could be the one. No moving bed, short belt path and a contained frame, make this a promising option.

With a cross axis design, we would only need one ball screw per axis. With the rigidity we gain from the ball screws we could probably get away with not using a bowden extruder.

That leaves just calculating if we can get cheap enough ball screws and if a normal NEMA17 can drive them fast enough...


This looks pretty much like the design I would go for.

Sunday, March 31, 2019

Reload, reset, relaunch. New content coming

I admittedly slacked of a bit, but now I feel motivated again.

I want to launch two new series of content.

Useful Products:
There are not many useful 3D printed products out there, but they do exist. Until we find a killer app for 3D printing, we have to start somewhere. Everyone is invited to find products or applications for 3D printing, so we can collect them and really show what 3D printing is capable of.

Advanced technical testing:
Beyond the China kit printers, there are still lots of interesting developments and ideas to test to make reprap machine better. I want to answer questions like what is the relationship of actual extruded print volume to commanded volume?, are 0.9 degree stepper motors worth it?, should I counter balance my effector? or are TL smoothers a scam?
Of course some questions I cant completely test out but at least I can try to find arguments from all sides on forums etc. to give some interesting insights.

In addition I want to document my printer upgrade progress and aforementioned testing on Youtube, which also allows me to give back to the community. I thought I could start a regular lifestream, where we/I can fix some printer issues life. I know Thomas Sanladrer sometimes does stream under the #3D-Doc, that seems like a cool idea to me.

PS. Is anyone interested in developing a ball screw driven cartesian printer? :D

Sunday, May 17, 2015

Pump clipper for Balloonistas

I love my balloon folding but having the pump either under my arm or somewhere on a table where I can't reach it, annoys me. So I 3D printed me a little clip that can hold the pump while I'm busy with the balloons.

I tested this last year successfully and now made a version that fits our pumps even better and is practically unbreakable* since its printed with a rubber-like bio-plastic.

My WD40 bottle is just to demonstrate the workings. I can jump around without it falling out.


*If  you manage to tear it apart you get a new one and an extra price :D

Tuesday, May 5, 2015

Sunday, January 25, 2015

Tour de Fork


Late summer lunch - 3D printed objects from Tourdefork on Vimeo.

I recently started printing kitchen item myself, so I'm absolutely loving this.

Check out more designs here.

Monday, December 15, 2014

Slic3r vs. Cura

I tested out Cura with my new set-up and I'm positively surprised about the results.
Slic3r is working well but there are some parts of the Gcode generation which leave some ugly artefacts. Especially the change from perimeters to infill always leave a mark on the outside.

Slic3r, still having troubles generating clean perimeters


There is still an argument to be made about Cura missing a lot of the fine detail function. No acceleration settings, no manual control and the simplification of giving only a outer wall thickness and not a number of perimeters are a bit to simplistic for my taste.

But the results speak for themselves.
Except for the little blobs, degenerated layer and bigger gaps in the perimeters didn't happen in the Cura printed (golden) parts. I will give Cura more tries in the future.

Cura, overall much more consistent look

Friday, December 12, 2014

Meshmixer support - a very good alternative

I recently tried the Meshmixer support because I'm tired of Slic3r not being able to calculate its support correctly. Apart from looking really cool it actually works really well.
You could even make organic looking sculptures by using this tree and branch technique.
Below you find a tutorial video how you apply and manipulate the support structures a function that comes in very handy if you know your printer better and only need partial support.

The contact point on the model brake of very easy and are surprisingly stable. The only detail to keep and eye on is that the contact point need to be really on the edge of the overhang, otherwise the underside of said overhang will not look good and have a slope of bad layers in them.

The colored trees are the automatically generated support.


Here the model still hot on the bed.


Sunday, December 7, 2014

Custom Cookie Cutters


With my 3D printer we can make any shape into a cookie cutter.
The sky or your imagination is the limit. From sigils like game of thrones, the batman sign, a logo or letters, to your littles nieces scribbles on the wall we make cookie cutter from it.
For more inspiration look here: Thingiverse: Cookie cutters


Very popular last year, the Stark wolf from Game of Thrones

Get your own in 3 easy steps

Step 1: You choose a picture, drawing or form.


We can use almost anything to make our shape. The less colors and the simples the shape the easier we can extract the shape.
We can even scan a drawing from you.


The same wolf as finished cookie cutter.

Step 2: Magic and some code.


I have a script ready which allows me to easily transform your picture into information for the 3D printer.


Special order: Rocket from Guardians of the galaxy.

Step 3: Print it.


The printer handles the rest a normal sized form takes around 1 hour to finish, so we can fulfill last minute orders as well. Your welcome to have a look while its made.
Cookies are of course not the only use for these shapes. You can you it as a stencil for spraying or painting or use it as a mold for pouring silicone.


Even in tough and chewy croissant dough, the shape comes through.


Practical things:

  • In order to get a good cookie long, thin or ragged pieces will make it hard for the cookie to bake evenly.
  • The material I'm using is called PLA (poly lactic acid) its used in a lot of food packaging and is non reactive. I've been using it in my kitchen for years. However its not dishwasher safe as its starts getting soft at around 70°C. I can not be held responsible for your safety and/or improper use.
  • If you are unsure about safety google the topic and make an informed choice. Here is a short article about the topic PLA and food safety

Sunday, November 30, 2014

Vapor smoothing with Acetone

After my failed attempts to smooth PLA with drain cleaner, the acetone vapors work pretty well on ABS. The model is really soft afterwards by that normalizes after some hours


.3mm layerheight, heavenly smoothed

Saturday, November 29, 2014

My hub is open

With this this little Marvin I registered my printer on 3D hubs. You can now hitchhike my printer here. I give special discounts for good ideas!


Monday, November 24, 2014

The holy grail of layerheight .1mm

With my new and improved setup I dared testing how .1mm layer height would look like.

Results are mixed, for some reason the model rips itself apart. I also get the feeling that I'm hitting the lower extrusion speed limit if something like it exists.

First I tried normal speeds (30-40mm/s) with otherwise normal settings and furthermore reducing the retraction to 1mm @ 40mm/s.


Then I tried to increase the output by raising the the layer width to 300%, that looked better.


Pushing this even higher to 400% width and 0 retraction made it almost perfect. This is a simple test piece and I haven't managed a complexer piece yet.


Friday, November 14, 2014

Something useful - the stove knob

In one of the earliest videos I saw about 3D printing and Reprap, they mentioned printing knobs (link below).

A rather unexciting idea until you realize how inconvenient it is to fiddle around with metal pins when carefully trying to find the perfect temperature to not burn your pancakes.

Luckily someone like minded already provided a template (Oven knob fully customizable).
This works great, so great indeed that I can put in a custom marker for the prefect pancake setting.


Saturday, November 8, 2014

Stability mod part 1

I finally build Masos stability mod (http://www.thingiverse.com/thing:171418).

I replaced the printed arm with 40x20mm rectangular aluminum profile and used a simple L bracket to connect it to the carriage (grey). The wobble is gone now, but the parts were not printed very precise and therefore the carriage doesn't slide very well on the straight rods. I'm waiting for normal linear bearings to arrive.


Friday, November 7, 2014

Same old, same old.

I had hoped once I bought a high-end hotend I'd get good prints, but the Eventorbot frame is still holding me back.
Although much has gotten better such as the solid infill and surfaces

Left .3 and right.2 mm layer height
However I'm still puzzled by the gaps in the walls.


It looks like parts of the wall just curl upwards. However if I see it during printing I cant really see a wobble it just curls up like it doesn't want to stick on the layer beneath. It also is connected to the layer width, which I had down to 120% for different reasons but it appears that 150% reduces the number of gaps visually.
One glimmer of hope is that the gaps appear to be only in places when it wobbles towards the inside, all outward wobble have not gaps.
I can't really imagine that the bed is jumping up and down when the general wobble is only in the x-y direction, but nothing is impossible.
I'm implementing a stability mod at the moment, so we'll see where this leaves us.